
Battery spot welding uses heat and pressure to create strong, reliable connections. It ensures minimal heat damage, making it ideal for lithium-ion cells.
This technique is widely used in power tools, electric bikes, and energy storage systems. It improves battery durability and performance.
In this guide, you’ll learn what spot welding is, why it’s important, and how to do it safely.

Understanding Spot Welding for Lithium Batteries
Spot welding is an essential technique for assembling lithium battery packs. It ensures strong electrical connections without overheating the battery cells.
What is Spot Welding?
Spot welding is a precision joining technique that utilizes controlled electric current and pressure to create strong metal bonds. During this process, a brief pulse of high current passes through overlapping metal surfaces, generating localized heat that melts and fuses the metals at their contact point without affecting surrounding areas.
The process works through these key principles:
- Resistance heating: When current flows through metal, resistance creates heat
- Pressure application: Electrodes apply pressure to ensure proper contact
- Rapid cooling: The weld solidifies quickly as the current stops
- Minimal contact area: Heat is concentrated at specific points
Unlike soldering, which introduces a third metal (solder) to create bonds, spot welding directly fuses the original metals together, creating stronger native connections.
Why is Spot Welding Used for Lithium Batteries?
Spot welding has become the industry standard for lithium battery assembly for several compelling reasons:
| Benefit | Description |
|---|---|
| Precision | Localized heat application prevents damage to sensitive cell components |
| Thermal safety | Minimal heat transfer protects temperature-sensitive lithium cells |
| Connection strength | Creates bonds that withstand electrical and mechanical stress |
| Efficiency | Quick process ideal for high-volume production |
| Compatibility | Works effectively with thin metal strips used in battery assemblies |
The technique’s ability to create strong connections while maintaining the integrity of delicate battery components makes it invaluable for quality battery pack construction.
Spot Welding vs. Soldering for Lithium Batteries
When comparing spot welding to soldering for lithium battery assembly, several factors clearly demonstrate why spot welding is preferred:
- Heat exposure: Spot welding adds very little heat to cells (milliseconds of exposure) while soldering requires sustained heating that can damage cells
- Bond strength: Welded connections offer superior mechanical strength compared to soldered joints
- Electrical efficiency: Direct metal-to-metal bonds provide better conductivity than solder joints
- Chemical safety: No flux or solder materials introduced that could potentially react with battery chemicals
- Production speed: Spot welding creates bonds almost instantaneously, while soldering requires heating and cooling cycles
Required Equipment for Spot Welding Lithium Batteries
Spot welding lithium batteries requires the right tools and equipment to ensure safe, strong, and reliable connections. Choosing high-quality materials and safety gear will improve efficiency and reduce the risk of damage. Below is a breakdown of the essential equipment needed for spot welding lithium battery packs.
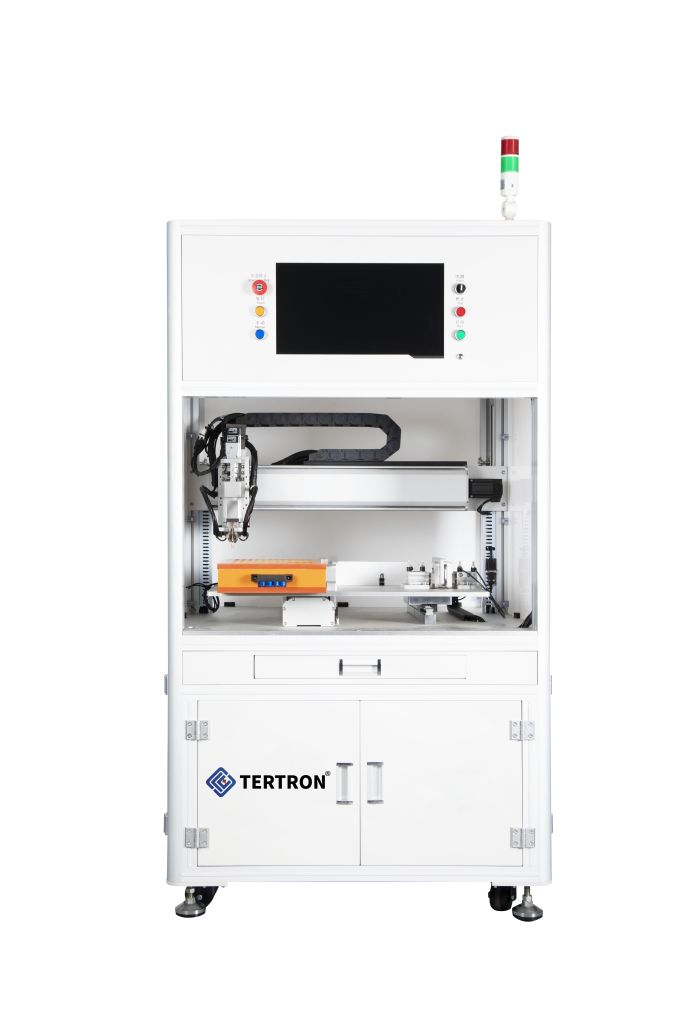
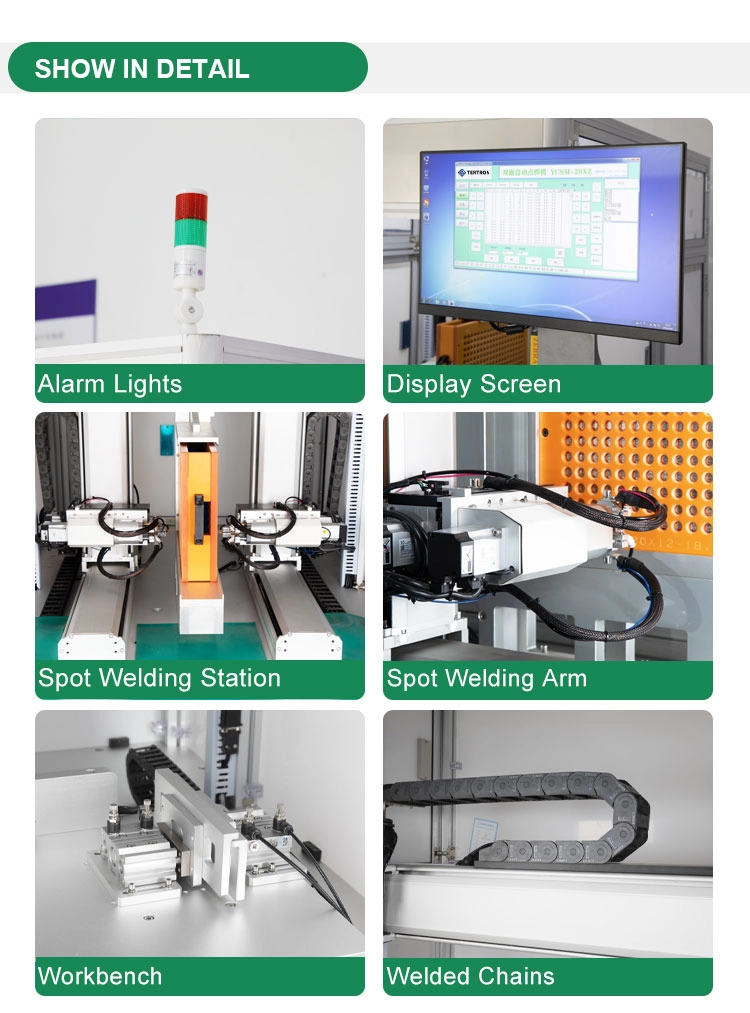
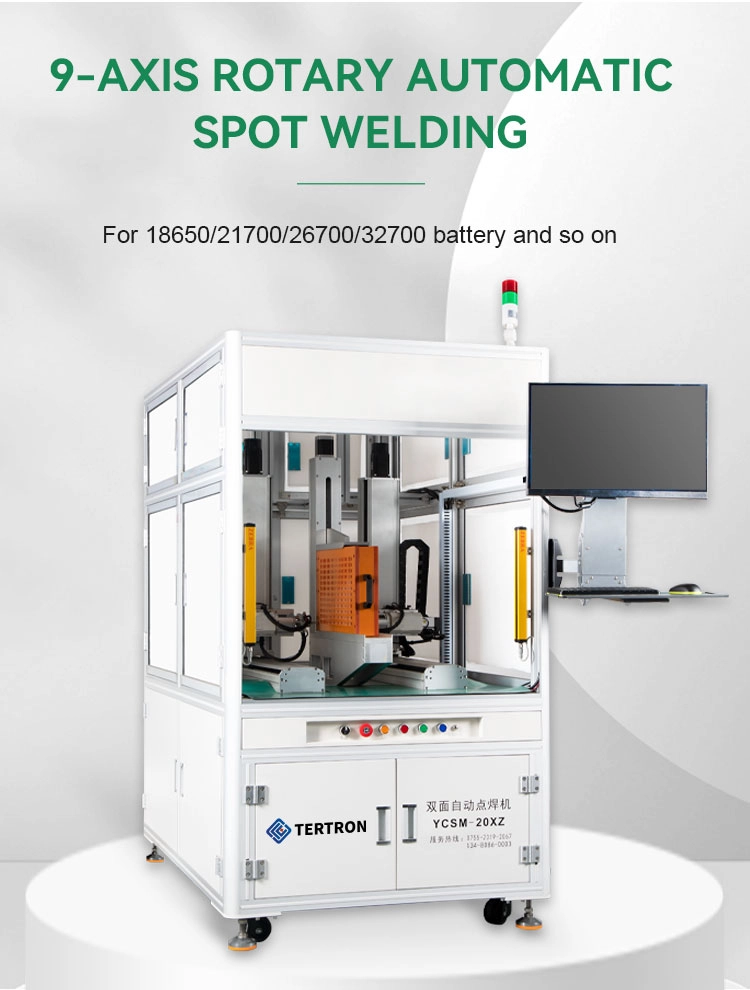
Spot Welder
A spot welder is the core tool used to join nickel strips to battery cells using heat and pressure. Selecting the right type of welder is essential for achieving strong, durable welds.
Types of Spot Welders
🔹 Handheld Spot Welder – Portable and suitable for small-scale battery projects. Best for DIY enthusiasts.
🔹 Bench-Mounted Spot Welder – More powerful and precise. Ideal for high-volume battery assembly.
Adjustable Power Settings
Spot welders come with adjustable power settings, allowing users to fine-tune heat output depending on the thickness of nickel strips:
| Nickel Strip Thickness | Recommended Power Setting |
|---|---|
| 0.1mm | Low Power (5-10ms pulse) |
| 0.15mm | Medium Power (10-15ms pulse) |
| 0.2mm | High Power (15-20ms pulse) |
Using the correct setting prevents excessive heat damage while ensuring a strong connection.
Nickel Strips
Nickel strips serve as conductors between battery cells. Using high-purity nickel ensures better conductivity and durability.
Why Use High-Purity Nickel Strips?
✅ Corrosion Resistance – Prevents rusting and oxidation over time.
✅ Better Conductivity – Reduces energy loss and improves efficiency.
✅ Stronger Welds – Ensures a firm bond between battery terminals.
Choosing the Right Thickness and Size
Nickel strips come in different sizes. Selecting the correct thickness ensures efficient current flow and strong connections:
| Battery Application | Recommended Nickel Strip |
|---|---|
| Small devices (flashlights, RC toys) | 0.1mm thickness, 5mm width |
| Power tools, e-bikes | 0.15mm thickness, 7mm width |
| High-current battery packs | 0.2mm thickness, 8mm width or layered strips |
💡 Tip: Use a nickel test (magnet check) to verify purity—pure nickel is non-magnetic.
Safety Gear
Spot welding generates heat, sparks, and metal fumes, making safety precautions essential. Below are the key protective items:
🧤 Heat-Resistant Gloves – Protect hands from burns and sparks.
👓 Safety Goggles – Shield eyes from debris and bright flashes.
👕 Protective Clothing – Wear non-flammable long sleeves to prevent burns.
⚠️ Important: Avoid synthetic fabrics, as they can melt and cause severe burns.
Additional Tools
Apart from a spot welder and nickel strips, the following tools will improve accuracy and safety:
Complete your setup with these essential supporting tools:
- Battery Holders: Secure cells in correct alignment during welding
- Multimeter: Test connections and verify cell voltages before and after welding
- Wire Strippers: Prepare wires for BMS connections
- Heat Gun: Apply heat-shrink tubing for final assembly insulation
- Kapton Tape: Insulate exposed conductive surfaces
Having the right tools enhances precision, reduces mistakes, and ensures a professional-quality battery pack.
Preparing for Spot Welding Lithium Batteries
Proper preparation is essential for achieving strong, reliable welds when assembling lithium battery packs. A well-organized workspace, clean battery terminals, and correctly configured spot welder reduce errors and ensure safety and efficiency. Follow these steps to set up for a successful spot welding process.
Setting Up Your Workstation
A well-organized workspace significantly reduces risks and improves welding precision:
- Clear workspace: Remove all flammable materials and unnecessary items from the welding area
- Ventilation: Ensure adequate airflow to disperse heat and any potential fumes
- Fire safety: Keep a fire extinguisher within immediate reach
- Tool organization: Arrange tools in logical order of use for efficient workflow
- Lighting: Provide bright, direct lighting on the work surface for maximum visibility
Position your spot welder on a stable, non-conductive surface with the controls easily accessible and visible during operation.
Inspecting and Preparing Lithium Batteries
Before welding, batteries must be clean, properly arranged, and voltage-checked to ensure consistency and prevent short circuits.
1. Cleaning Battery Terminals
🧽 Wipe the battery terminals with a clean, dry cloth to remove dirt, oil, or oxidation.
⚡ Why? Dirty terminals can increase resistance, leading to poor welds and energy loss.
2. Arranging Battery Cells
🔹 Align battery cells in the correct configuration (Series, Parallel, or Mixed) based on your battery pack design.
🔹 Use battery holders to keep cells stable and properly spaced.
3. Checking Cell Voltage
Using a multimeter, measure the voltage of each cell before welding. This prevents voltage imbalances, which can lead to overheating or battery failure.
| Battery Type | Recommended Voltage Range |
|---|---|
| Lithium-ion (18650, 21700) | 3.5V – 4.2V per cell |
| LiFePO4 Batteries | 2.5V – 3.65V per cell |
⚠️ Warning: If cell voltages differ significantly, balance them before welding to avoid excessive current flow.
Configuring the Spot Welder
To achieve strong and reliable spot welds, configure your welder according to the thickness of the nickel strips being used.
1. Setting the Correct Power Level
Different nickel thicknesses require different power settings to create a secure weld:
| Nickel Thickness | Recommended Power Setting |
|---|---|
| 0.1mm | Low Power (5-10ms pulse) |
| 0.15mm | Medium Power (10-15ms pulse) |
| 0.2mm | High Power (15-20ms pulse) |
Too much power can burn through the nickel and damage the battery, while too little power creates weak welds.
2. Adjusting Electrode Pressure
✔ Apply firm but controlled pressure to ensure proper contact between the nickel strip and battery terminal.
✔ Too much pressure reduces resistance, weakening the weld. Too little pressure results in poor bonding.
3. Testing Weld Settings
Before welding on actual battery cells:
🔹 Perform test welds on scrap nickel strips to verify the strength and appearance of the welds.
🔹 Inspect weld points – A proper weld should not detach when pulled with moderate force.
Battery Spot Welding Procedure
Executing the spot welding process correctly ensures strong, durable connections between lithium battery cells. This section details the step-by-step procedure for setting up, performing, and inspecting spot welds to achieve high-quality, reliable results.
Setting Up the Spot Welder
Before beginning, proper configuration of the spot welder is essential for achieving strong welds without damaging the battery cells.
1. Adjusting Power Settings
The welding power level depends on the thickness of the nickel strips used:
| Nickel Strip Thickness | Recommended Power Setting |
|---|---|
| 0.1mm | Low Power (5-10ms pulse) |
| 0.15mm | Medium Power (10-15ms pulse) |
| 0.2mm | High Power (15-20ms pulse) |
⚠ Tip: Start with a lower power setting and increase gradually to avoid burning through the nickel.
2. Positioning Electrodes
- Align electrodes to ensure firm contact with the nickel strip and battery terminal.
- Keep the distance between electrodes consistent to maintain uniform weld strength.
3. Calibrating the Welder
- Perform test welds on scrap nickel strips before working on battery cells.
- Check for proper melting and bonding of the nickel strip without over-penetrating.
Performing the Spot Welds
Follow these step-by-step instructions to ensure each weld is strong and secure.
1. Preparing the Weld Area
- Place the battery cells in a stable battery holder to prevent movement.
- Ensure nickel strips are correctly positioned and lying flat against the battery terminals.
2. Positioning Electrodes
- Align the electrodes directly over the nickel strip and battery cell terminal.
- Apply gentle but firm pressure to eliminate any gaps.
3. Applying Pressure
- Press down on the electrodes evenly and firmly to ensure proper contact.
- Avoid excessive pressure, which can reduce electrical resistance, leading to weak welds.
4. Activating the Welder
- Engage the spot welder for the preset pulse duration based on nickel thickness.
- Ensure a clean, bright weld mark without excess spatter.
5. Repeating for Each Connection
- Move methodically across all battery terminals following the designated welding sequence.
- Maintain consistent pressure and timing for uniform weld strength.
Inspecting the Welds
After completing the welds, each connection should be carefully inspected to verify strength, durability, and conductivity.
1. Visual Inspection Techniques
✅ Look for clean, round welds with smooth edges.
✅ Avoid burn marks, excessive melting, or weak adhesion.
2. Tug Test for Security
- Gently pull on the nickel strip to ensure it is firmly attached.
- If the strip detaches easily, the weld is too weak and needs reinforcement.
3. Multimeter Resistance Check
Using a multimeter, measure resistance across each connection. Proper welds should show low resistance, ensuring efficient electrical conductivity.
| Test | Desired Result |
|---|---|
| Visual Check | Clean, strong welds |
| Tug Test | Nickel strip remains secure |
| Resistance Check | Low resistance, good connectivity |
4. Reinforcing Weak Welds
If any weld appears weak:
🔹 Redo the weld with slightly higher power or adjusted pressure.
🔹 Ensure electrodes are clean and making full contact.
Tips and Best Practices
Spot welding lithium batteries requires precision and attention to detail. Following best practices ensures strong, reliable welds while preventing damage to battery cells.
Choosing the Right Nickel Strips
The selection of appropriate nickel strips is fundamental to creating durable, high-performing battery packs:
| Strip Thickness | Current Capacity | Best Application |
|---|---|---|
| 0.15mm | ~1A per mm width | Standard battery packs |
| 0.20mm | Higher current capacity | Power tools, e-bikes |
| 0.25mm+ | Maximum current handling | High-discharge applications |
Selection Guidelines:
- Width calculation: Determine strip width based on expected current draw (Formula: Required strips = Max current ÷ (1A × strip width in mm))
- Purity matters: Only use 99.9%+ pure nickel for optimal conductivity and minimal resistance
- Match terminal size: Select strip width appropriate for your specific battery cell terminals
Example: For a 30A battery pack using 7mm wide nickel strips (0.15mm thick), you need at least 5 strips for safe current handling (30A ÷ 7mm = 4.3 strips, rounded up to 5).
3. Purity for Conductivity
- Always use pure nickel strips instead of nickel-plated steel.
- Pure nickel offers better conductivity and is corrosion-resistant.
- How to test purity? Use a magnet test – pure nickel is non-magnetic, while nickel-plated steel sticks to magnets.
Managing Heat and Pressure
Applying the right amount of heat and pressure prevents overheating and weak welds.
1. Adjusting Power Settings
- Set the welder’s power level according to nickel strip thickness.
- Start with low power and gradually increase if necessary.
2. Monitoring Temperature
- Excessive heat can damage battery insulation or cause internal degradation.
- Allow cooling time between welds to prevent overheating.
- Use a fan or heat sink for temperature control if welding a large battery pack.
3. Applying Even Pressure
✔ Apply consistent and even pressure with the electrodes.
✔ Too much pressure reduces weld strength by lowering resistance.
✔ Too little pressure results in weak or incomplete welds.
Ensuring Consistency and Accuracy
Systematic approach to welding creates reliable battery packs:
- Check electrode alignment before each welding session
- Develop a standardized technique for electrode placement and pressure
- Inspect welds regularly during the battery assembly process
- Follow a logical sequence (generally working from one end of the pack to the other)
- Document your process for repeatability in future projects
- Create test welds on scrap material when changing settings or materials
Assembling a Battery Pack
Once the spot welding process is complete, assembling the battery pack properly is crucial for safety, performance, and longevity. This section covers battery configuration, voltage checks, layout, welding, and final assembly.
Understanding Battery Pack Configuration
A battery pack’s configuration determines its voltage, capacity, and performance. Understanding the difference between series and parallel connections is key.
1. Series vs. Parallel Connection for Voltage and Capacity
- Series Connection (S) – Increases voltage but keeps the same capacity.
- Example: Three 3.7V lithium cells in series (3S) = 11.1V total
- Parallel Connection (P) – Increases capacity but keeps the same voltage.
- Example: Two 3000mAh cells in parallel (2P) = 6000mAh total
2. Determining Battery Layout Based on Requirements
- Define the power needs (voltage & capacity).
- Choose 3S, 4S, 5S configurations based on the required voltage.
- Decide P count based on the energy storage required.
3. Practical Example: 12V Lithium-Ion Battery Pack
A 12V battery pack typically consists of 3 cells in series (3S) and multiple in parallel (P).
| Configuration | Voltage | Capacity |
|---|---|---|
| 3S1P | 11.1V | 3000mAh |
| 3S2P | 11.1V | 6000mAh |
| 3S3P | 11.1V | 9000mAh |
Checking Cell Voltages Before Welding
Before welding, matching cell voltages prevents overcurrent issues in parallel configurations.
1. Importance of Voltage Matching
- Cells with significantly different voltages cause imbalanced charging.
- Mismatched voltages in parallel connections can cause excessive current flow, damaging cells.
2. Using a Multimeter for Accurate Measurement
- Set the multimeter to DC voltage mode.
- Measure and record each cell’s voltage.
- Ideal cell voltage range before welding: 3.5V – 4.2V per cell.
3. Preventing Overcurrent Issues in Parallel Connections
- Ensure all parallel cells have voltage differences of less than 0.05V.
- Balance charge cells before welding if needed.
Layout of Cells for Spot Welding
Arranging the cells correctly enhances stability, safety, and heat dissipation.
1. Proper Arrangement for Stability and Cooling
- Position cells closely together for minimal wiring.
- Ensure air gaps for heat dissipation in high-power applications.
2. Benefits of Using Cell Holders for Structure
✔ Prevents movement during welding.
✔ Improves spacing and alignment.
✔ Enhances mechanical stability of the battery pack.
Cutting and Placing Nickel Strips
Nickel strips connect battery terminals and determine current flow efficiency.
1. Measuring and Cutting Strips for Proper Contact
- Cut nickel strips according to battery terminal width.
- Use precise cutting tools for accuracy.
2. Leaving Extra Strip Length for Soldering BMS Leads
- Leave at least 10mm of extra strip space for Battery Management System (BMS) wiring.
Spot Welding the Nickel Strips
The spot welding process must be executed correctly for strong electrical and mechanical connections.
1. Adjusting Energy or Pulse Settings
- Choose the right pulse duration based on nickel thickness.
- Use low power first and increase if necessary.
2. Applying Proper Pressure for a Strong Weld
- Apply firm but controlled pressure to ensure a solid bond.
- Too much pressure reduces resistance, leading to weak welds.
3. Maintaining High Resistance for Effective Heat Generation
✔ Ensure clean battery terminals before welding.
✔ Keep electrodes properly aligned for consistent results.
Adding the Battery Management System (BMS)
A Battery Management System (BMS) prevents overcharging, overcurrent, and cell imbalance.
1. Understanding BMS Connection Points
The BMS connects to the battery terminals as follows:
| BMS Point | Connection |
|---|---|
| B- | Negative terminal of the battery pack |
| B1, B2, B3… | Between series connections |
| B+ | Positive terminal of the battery pack |
| P+ / P- | Power output (to load/charger) |
2. Ensuring Correct Wiring for Safe Battery Operation
- Connect each balance lead correctly to its respective series connection.
- Double-check connections to prevent short circuits.
Final Assembly and Insulation
Proper insulation and reinforcement improve battery pack durability.
1. Using Kapton Tape for Electrical Insulation
✔ Prevents short circuits and electrical leaks.
✔ Resists high temperatures without degrading.
2. Strengthening the Battery Structure with Strapping Tape
- Wrap the battery tightly to keep cells in position.
- Use multiple layers for extra protection.
3. Ensuring Mechanical Durability and Safety
✔ Cover exposed nickel strips with electrical tape or heat shrink.
✔ Test the battery before use to ensure safe operation.
Conclusion
Spot welding is the best method for assembling lithium battery packs safely and efficiently. It ensures strong, durable connections without damaging battery cells.
Using the right equipment, correct power settings, and proper techniques prevents weak welds and overheating issues. Always test your welds for strength and conductivity.
Safety and precision are essential. Wear protective gear, work in a ventilated area, and check battery voltages before welding. A well-assembled pack improves performance and longevity.
FAQs
Q: Can you weld with lithium batteries?
A: Yes, but lithium batteries themselves are not welded. Instead, nickel strips are spot-welded to battery terminals to create electrical connections. This process minimizes heat exposure, preventing damage to the battery cells.
Q: What is a good spot welder for batteries?
A: A bench-mounted spot welder is ideal for large battery packs, while handheld spot welders are suitable for small DIY projects. Look for adjustable power settings and low-heat pulse technology to prevent battery damage.
Q: Is it better to spot weld or solder batteries?
A: Spot welding is safer and more effective for lithium batteries because it generates localized heat. Soldering exposes cells to prolonged high temperatures, which can damage internal components and shorten battery life.
Q: Why are batteries spot-welded?
A: Spot welding creates strong, reliable connections while generating minimal heat. This prevents internal cell damage, ensuring longer battery life and better conductivity.
Q: Can I spot weld without a dedicated spot welder?
A: It is possible but not recommended. Some DIY methods, like capacitor discharge welding, can work, but they often lack precision and increase the risk of overheating.
Q: How do I know if my spot welds are strong enough?
A: Perform a tug test—gently pull on the nickel strip. If it stays firmly attached, the weld is strong. Also, check with a multimeter—low resistance indicates a good connection.
Q: Can I spot weld other types of batteries besides lithium-ion?
A: Yes, spot welding is also used for NiMH, NiCd, and LiFePO4 batteries. Always adjust the power settings based on the battery type and nickel strip thickness.
Q: What maintenance is required for a battery spot welder?
A: Regularly clean the electrodes, check power settings, and inspect weld quality. Replace worn electrodes and ensure proper ventilation to prevent overheating.
Q: What are some common mistakes to avoid when spot welding batteries?
A:
❌ Using excessive power, which can burn through the nickel strip.
❌ Misaligned electrodes, leading to weak or incomplete welds.
❌ Not checking battery voltage before welding, which can cause imbalance issues.
❌ Failing to clean battery terminals, increasing resistance and weak welds.